
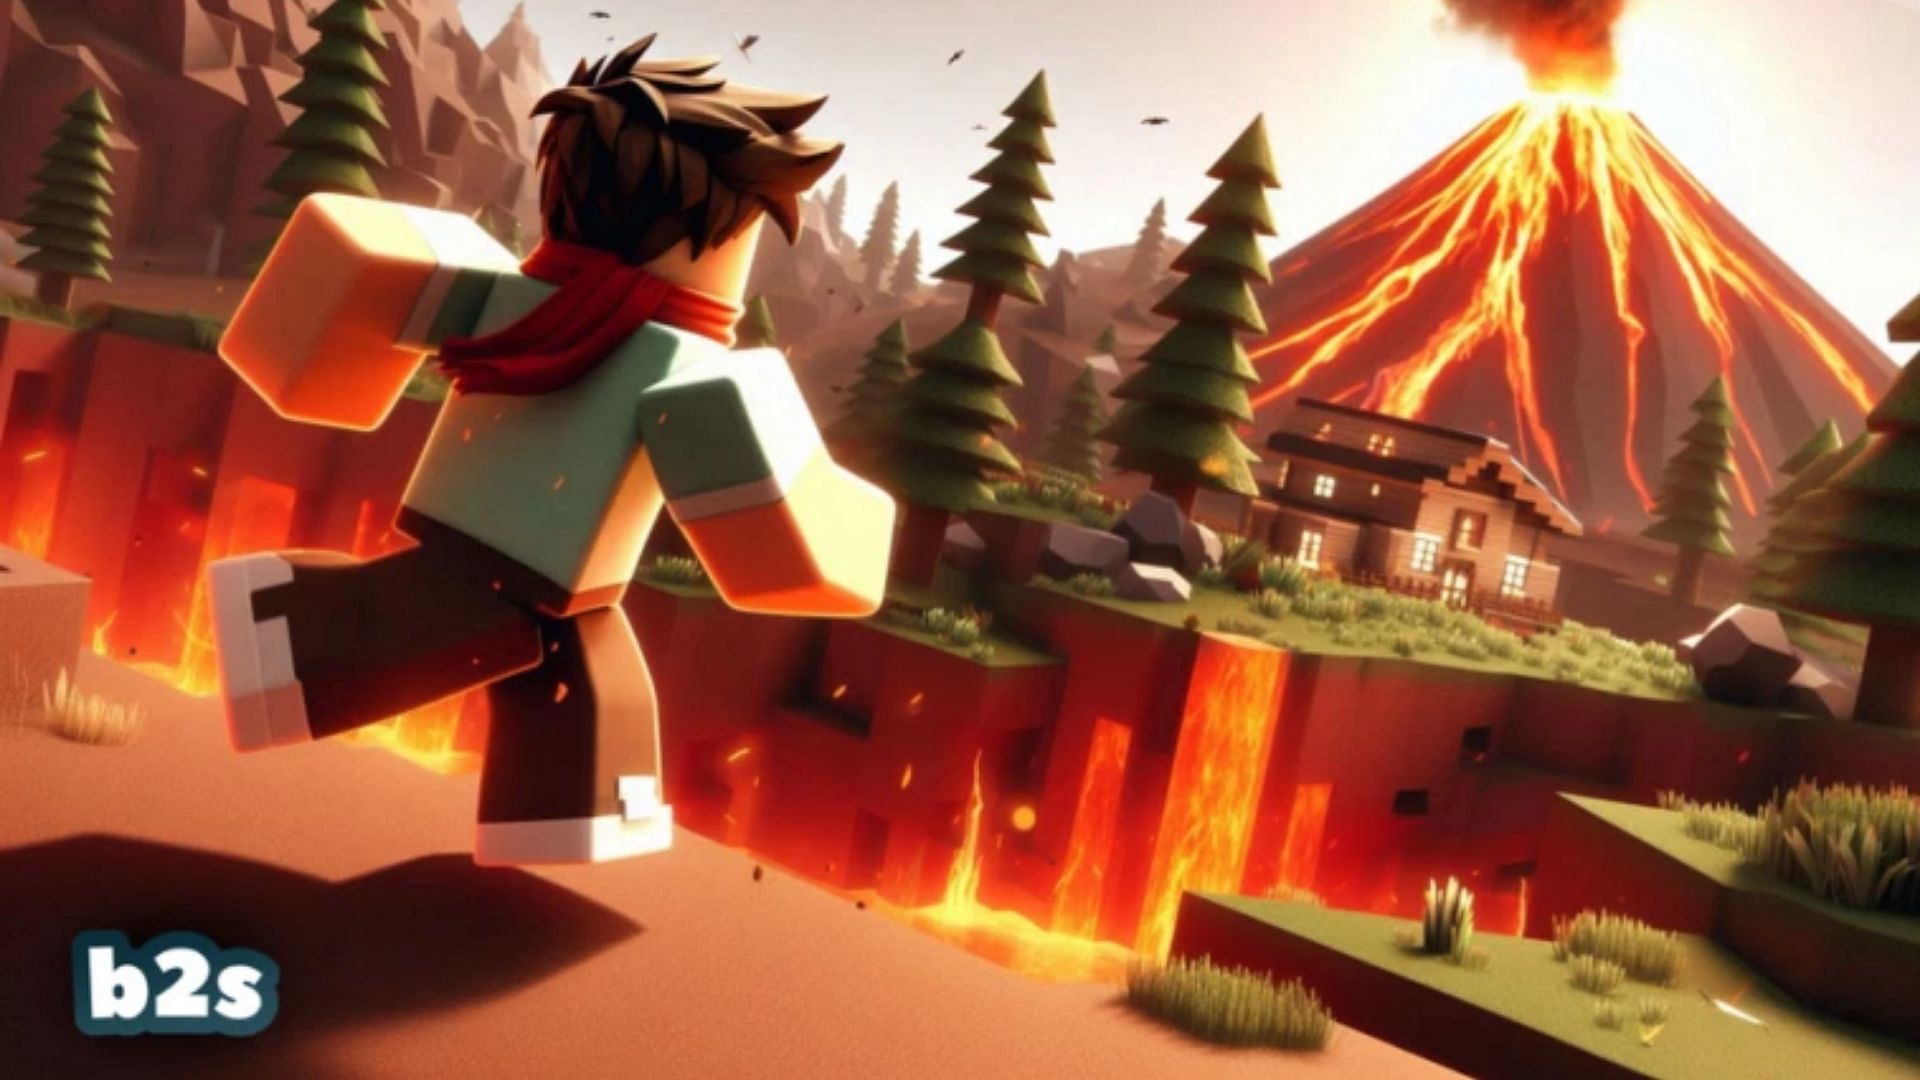
Defense is a Roblox survival experience on the construction of your base to defend against the incessant waves of enemies and disasters. The title is to use everything at your disposal to protect you, whether weapons or shields. Use the resources you earn to buy new ways to defend yourself and continue your survival sequence.
Here is a guide to the basics of construction defense to help you start with this Roblox title.
Start with construction defense
Preview
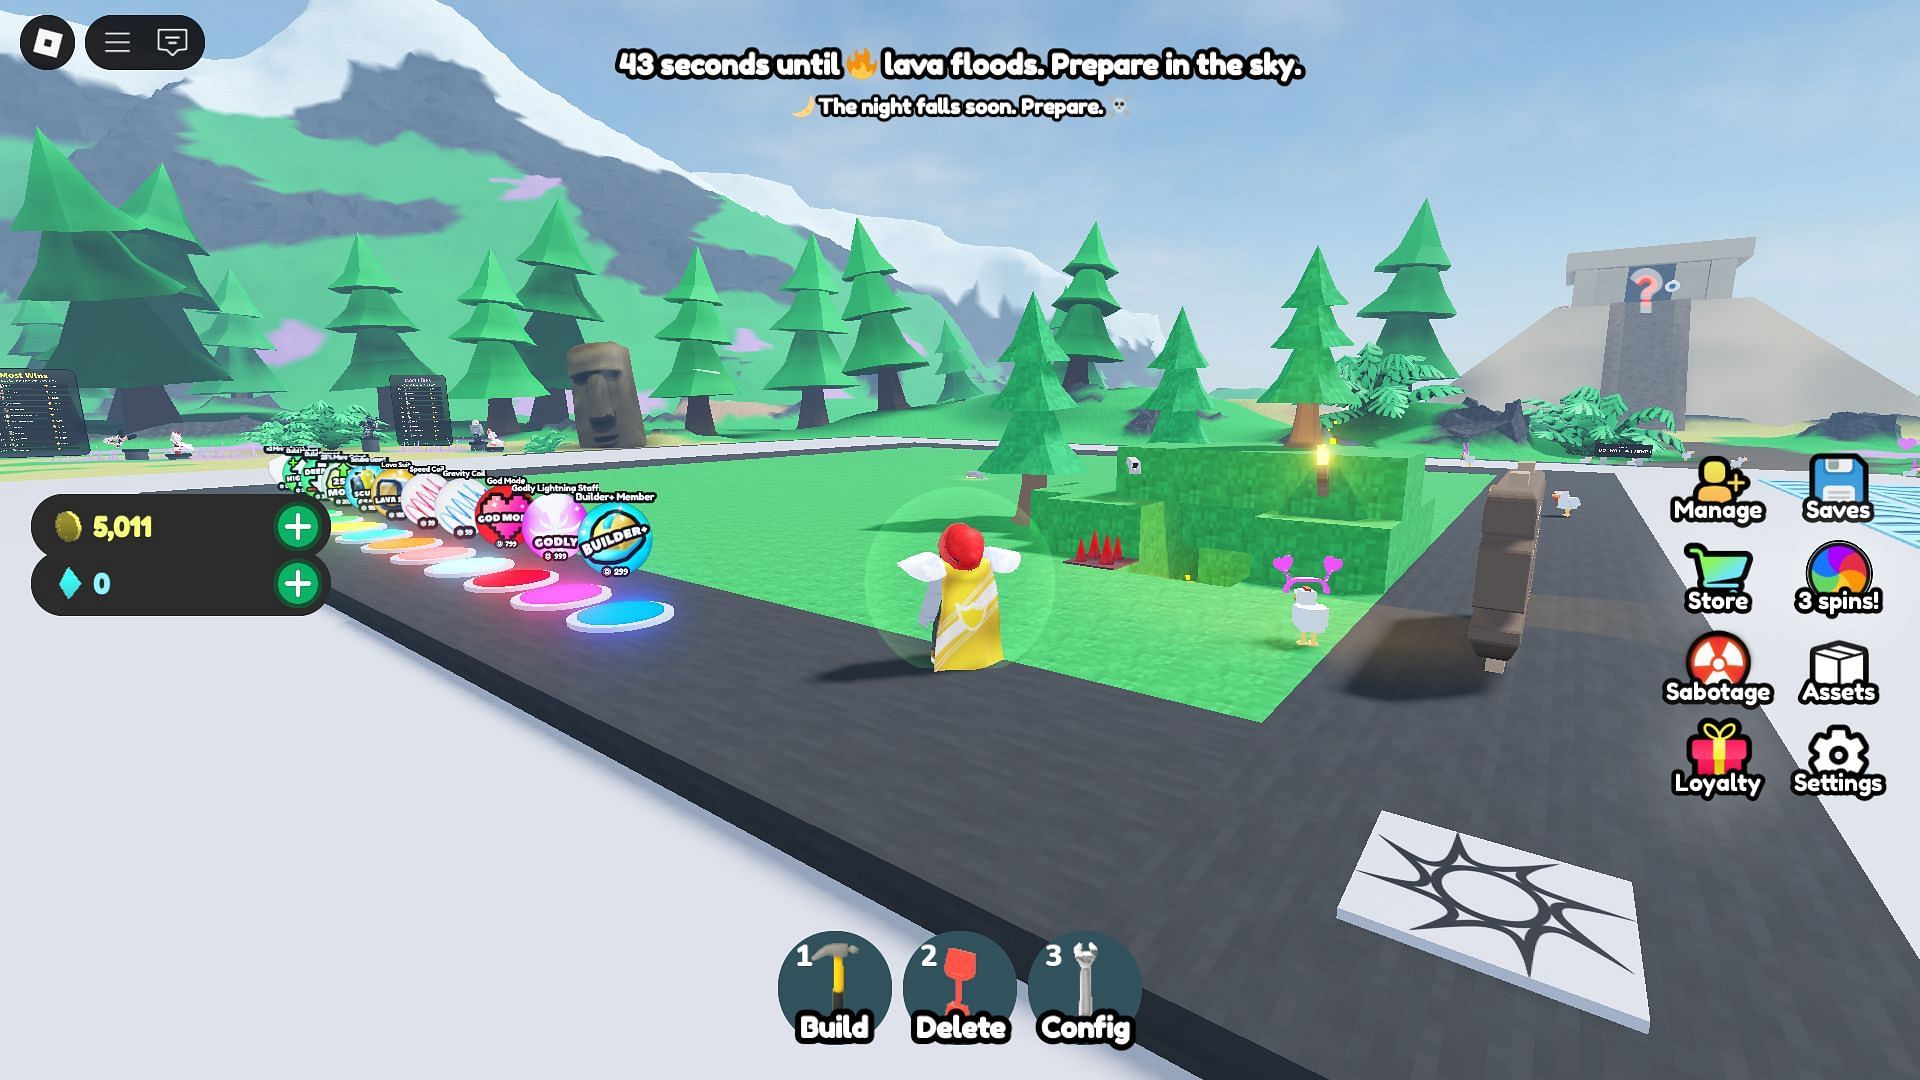
Build Defense is a basic construction title where you need to use your construction tool to set blocks and build a structure to defend. This title is designed to keep you on your toes when you make your home through a constant threat chain that also affects all the basics of the card. The idea is to make your base resilient enough to resist each threat that the game has to offer.
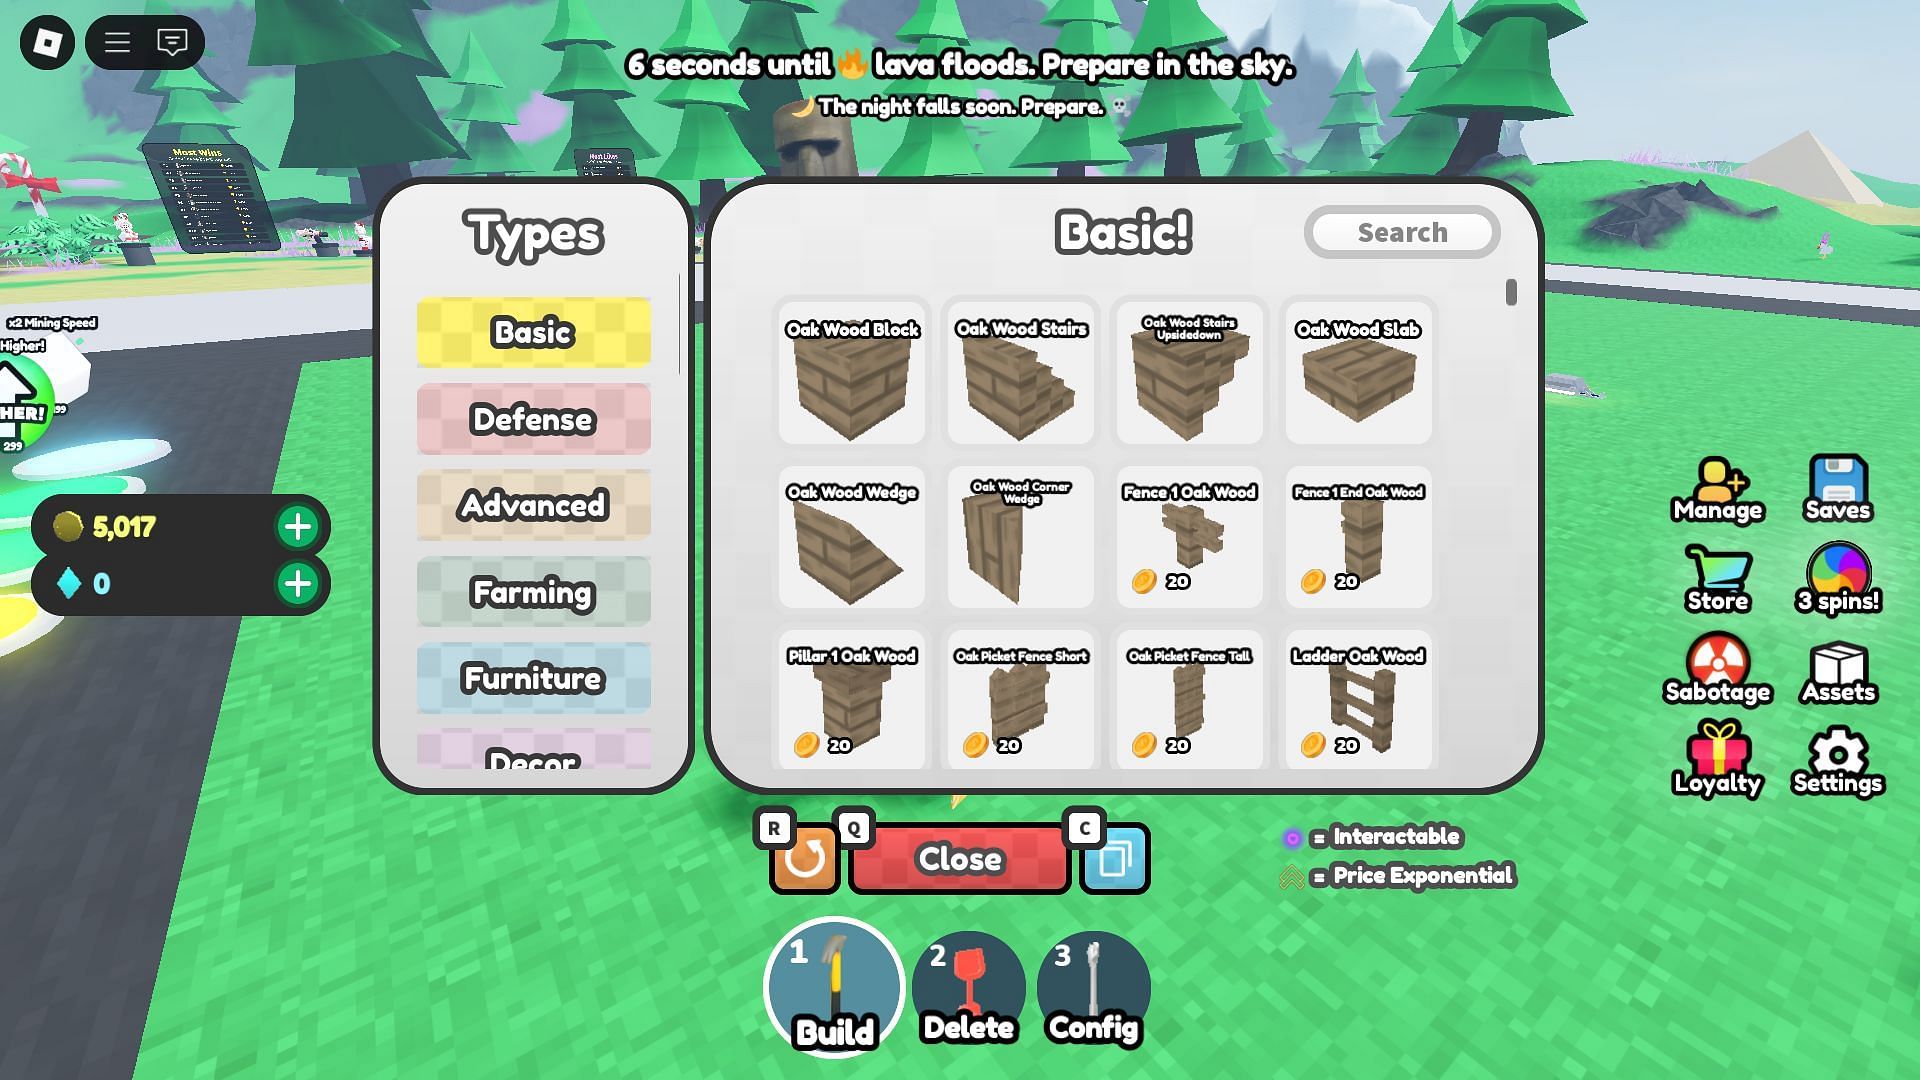
Construction, deletion and configuration tools are available by default. These three options are the foundations on which the whole game rests. You can position and place the different blocks with the construction tool, modify their properties with configure and delete them with delete. The options that these three tools offer can be extended thanks to unlocking facilitated by the progression of the gameplay.
Build an impenetrable fortress and keep the monsters and disasters to stay alive and continue your underground operation.
Read also: Be an silly seal: a beginner’s guide
Orders
- Movement: W, s, a, d
- Leap: Space bar
- Interact: E / left mouse button
- Equipment tool: Standards number 1-3
- Use the tool: Left mouse button
- Select blocks: Q
- Copy: C
- Turn: R
Gameplay mechanisms
- Overworld: The game includes a whole world with construction areas designated for all server players. When you are safe from attacks on monsters or threats of calamity, you can explore the creations of others and see what they have found.
- Monsters and disasters: Your main goal is to get around the different threats that the game generates and launches you randomly. These include monsters such as spiders and zombies or natural disasters such as meteors, tornadoes, lava and more. Since it is not to know what type of threats to which you will face at a given time, you must be ready for anything.
- Blocks: The construction tool gives you access to various types of blocks which, when placed, act as construction foundations, defensive tools, agricultural equipment, etc. In total, there are six types of blocks: basic, defense, advanced, agriculture, furniture, and decoration. The most practical among these are basic, defense, advanced and agriculture, which dictate your survival and your rate of resource. The blocks have unique unlocking and placement conditions, which can be viewed by clicking on it. If you want to know more about a specific block, consider using the integrated title research function to find and check their requirements.
- Save the system: You can save your progress by clicking the Save button on the right side of the screen. This will allow you to keep your blocks built after leaving the experience, which can be useful if you plan to build an elaborate fortress. Functionality is also a welcome addition in the event of unhappy network failure or application crash, preventing you from losing too much progress.
- Shop: The shop in play includes various premium items that improve your experience in play. This is in particular the coil of gravity, the speed coil, the God mode, the Builder +membership, and even more, which serve as upgrades to quality of life. Buying them requires Robux, accelerating your progress in the game.
Read also: Roblox username ideas unique for new players
Faq
What is construction defense?
Build Defense is to build a robust house base to defend you against calamities and demons.
Is construction defense playable for free?
Yes, the game can be played free of charge without compulsory Robux purchases.
How to use the construction tool in construction defense?
Select the construction tool by pressing 1 on the keyboard, activate it, choose the desired block from the menu and place it using the left mouse button.
Edited by Adarsh J Kumar


